How to Set Up a Bioactive Terrarium: Step-by-Step Guide
Build a self-cleaning bioactive terrarium step by step, from drainage, substrate and leaf litter to plants, springtails and isopods, for tropical or arid reptiles.
- By ScaleHaven Care Team
- Published
- Updated
- 5 min read
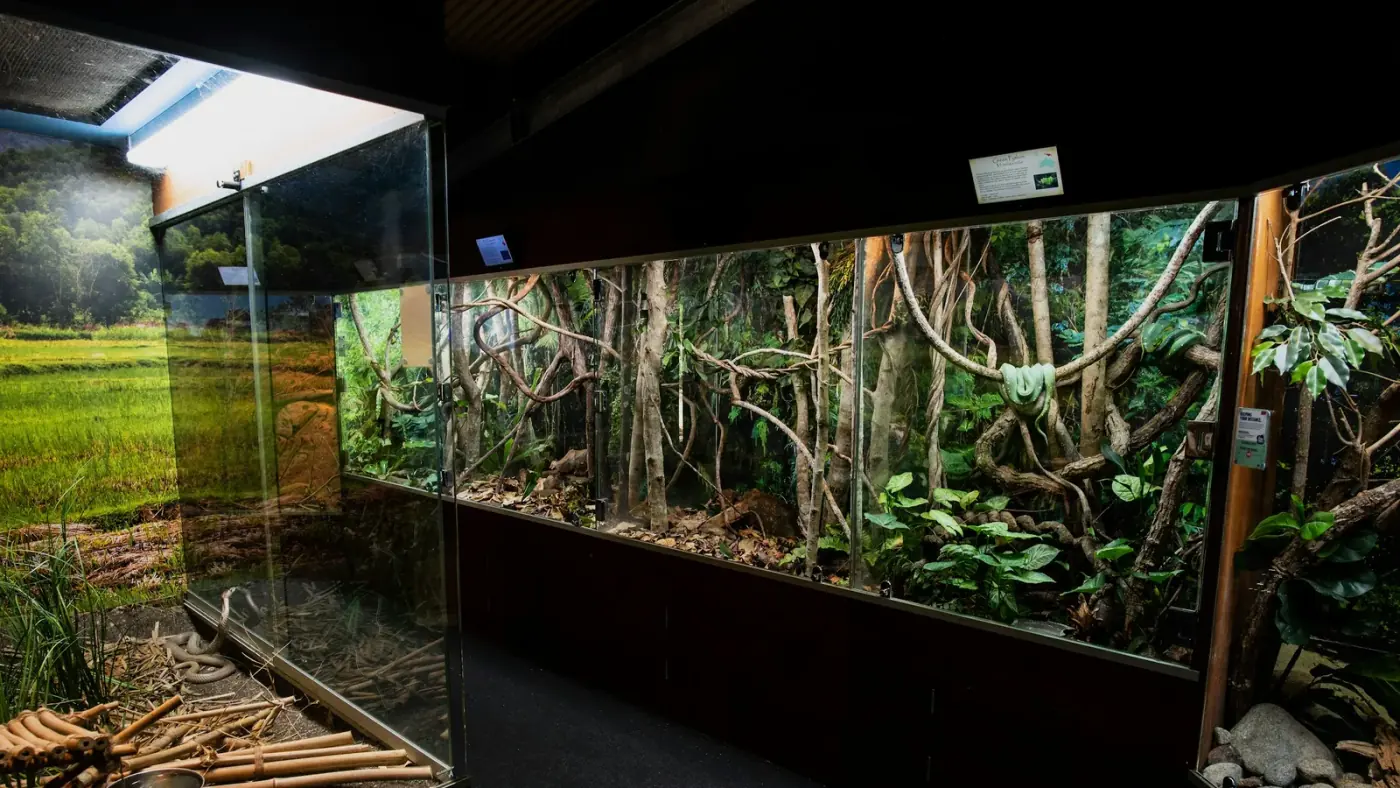
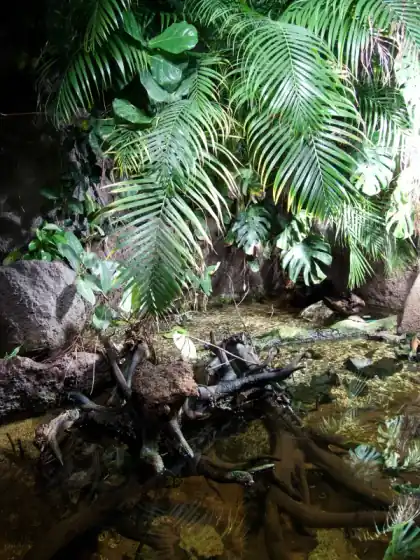
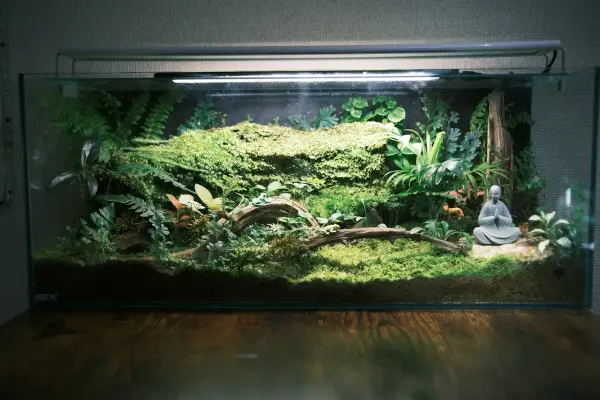
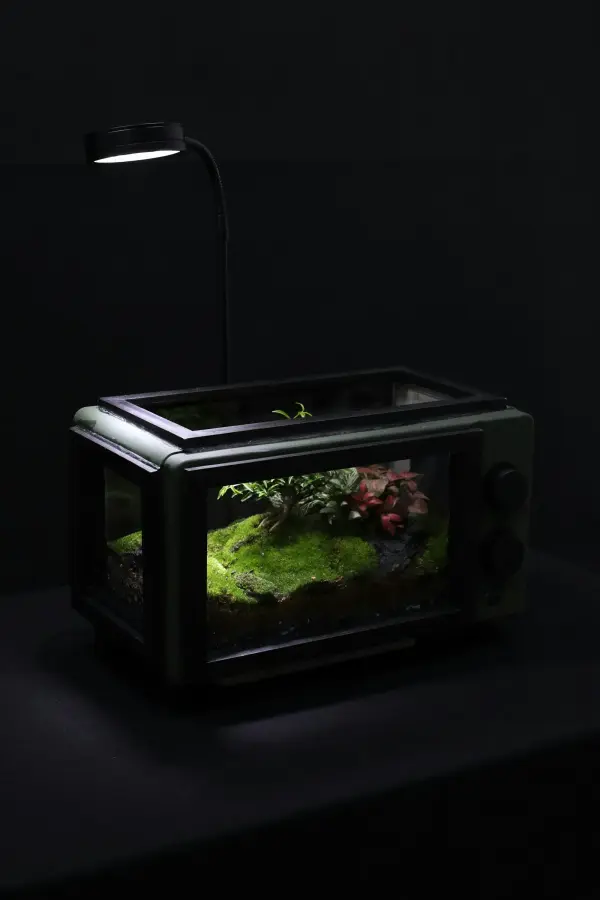
A bioactive terrarium is a small, living ecosystem. Live plants, soil microbes and tiny invertebrates (the "cleanup crew") break down waste, shed skin and leftover food. Your reptile gets a richer, more natural environment, and you get an enclosure that needs far less cleaning once it's established.
Bioactive isn't magic. It needs the right layers, the right humidity for the species, and some patience while it settles in. This guide walks you through a build from the bottom up.
Tropical or arid?
Start with your reptile's natural habitat, because that decides almost everything else.
| Tropical bioactive | Arid bioactive | |
|---|---|---|
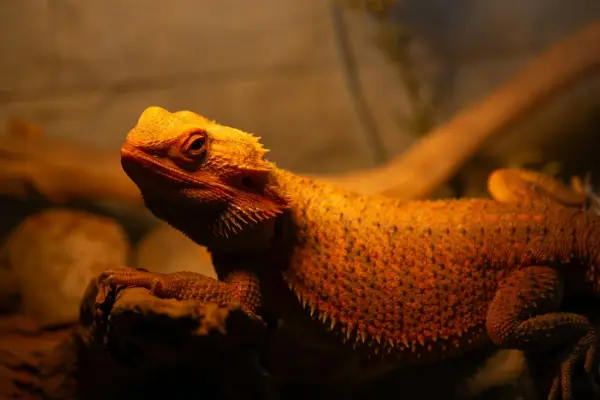
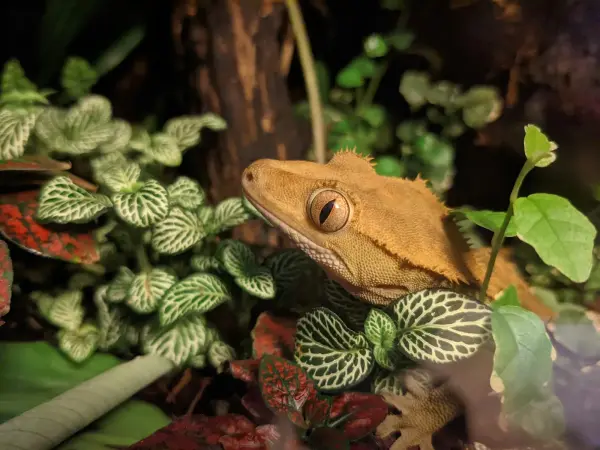
| Good for | Crested geckos, gargoyle geckos, ball pythons, many tree frogs | Leopard geckos, bearded dragons, uromastyx, rosy boas |
| Humidity | 50–80% | 20–40% at the surface, slightly damp lower down |
| Drainage layer | Yes | Usually no |
| Plants | Pothos, ferns, bromeliads, peperomia | Haworthia, gasteria, hardy succulents |
| Isopods | Tropical species (e.g. dwarf white, powder orange) | Arid-tolerant species (e.g. some Porcellionides and Armadillidium) |
Our Tropical Bioactive Kit and Arid Bioactive Kit include matched substrate, drainage (for tropical builds) and leaf litter, so you can skip the guesswork.
Step 1: Prepare the enclosure
Choose an enclosure suited to the species and to the plants you want to grow. Glass and PVC both work. If you use a wooden enclosure, seal it with a waterproof, reptile-safe sealant first. Install your heat and UVB fixtures now, before the substrate goes in, and add a full-spectrum plant LED if your reptile's lighting alone won't keep plants healthy.
Add any background, ledges or heavy rocks at this stage. Heavy items should sit on the enclosure floor or on the drainage layer, never on top of loose substrate, where a burrowing animal could undermine them.
Step 2: The drainage layer (tropical builds)
Add 1–2 in (3–5 cm) of clay balls, lava rock or a synthetic drainage material. This catches excess water so the soil above never becomes waterlogged and sour.
Step 3: The barrier
Lay a sheet of fine mesh or landscape fabric over the drainage layer. It keeps soil from washing down into the drainage layer while letting water through.
Step 4: The bioactive substrate
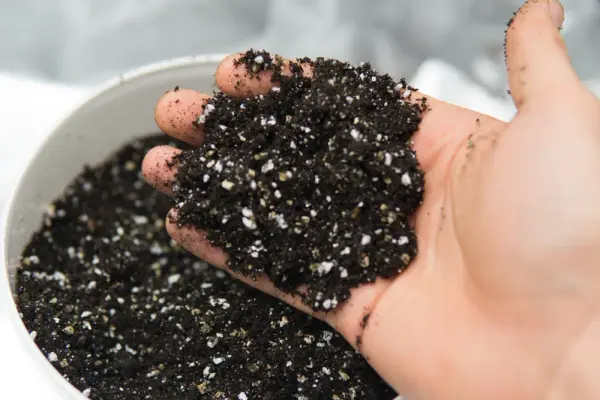
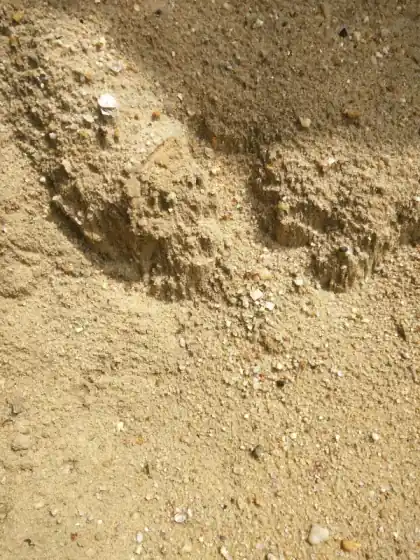
Add 3–4 in (8–10 cm) of a bioactive soil blend. For tropical builds, use a mix of organic topsoil, coco fiber, sphagnum moss, orchid bark and horticultural charcoal, such as our Tropical Bioactive Soil Mix. For arid builds, use a sandy soil with some clay that holds burrows, such as our Arid Bioactive Substrate.
Slope the substrate so it's deeper at the back. This gives plant roots more room and creates visual depth. In arid builds, keep the lower layer slightly moist so the cleanup crew has a refuge, while the surface stays dry.
Step 5: Plants
Choose sturdy, non-toxic plants that suit the enclosure's light, humidity and the size of your animal. Larger reptiles will flatten delicate plants.
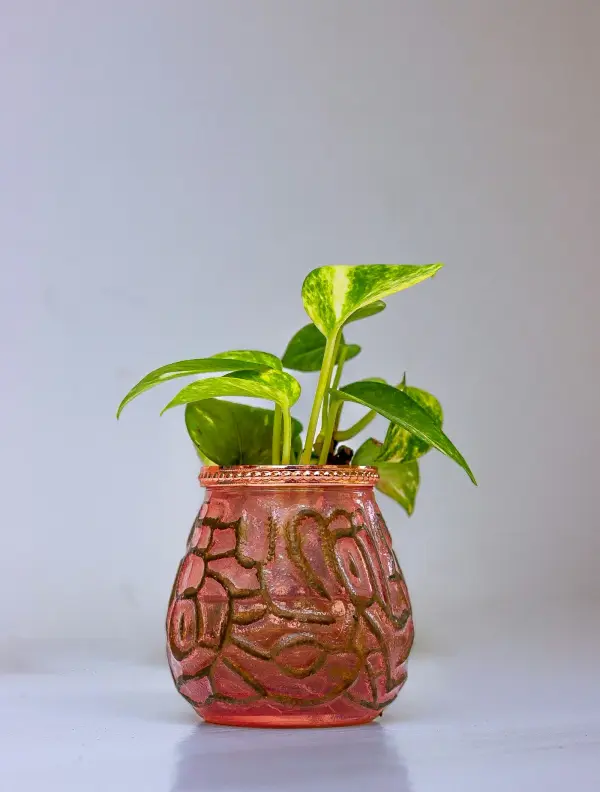
- Tropical: pothos, snake plant (sansevieria), bromeliads, peperomia, ferns and fittonia.
- Arid: haworthia, gasteria, hardy aloe and other succulents without sharp spines.
Rinse the roots to remove potting soil, which can contain fertilizer and perlite, and quarantine new plants for a week or two to check for pests. Plant them in the substrate, then add sphagnum moss around the bases in tropical builds to hold moisture.
Step 6: Leaf litter and hardscape
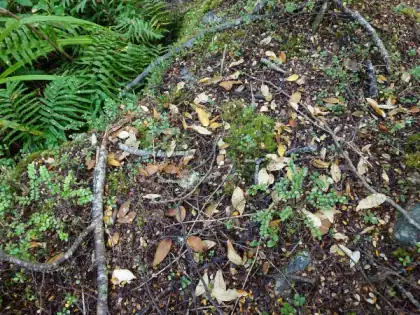
Spread a generous layer of dried oak or magnolia leaves over the surface. Leaf litter feeds the cleanup crew, gives them cover and holds humidity at the surface. Add cork bark, branches and hides now.
Step 7: The cleanup crew
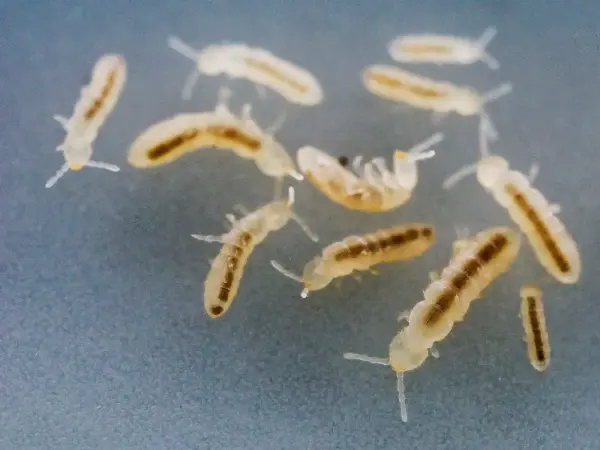
- Springtails: tiny insects that eat mold and fungi. Add them first. They spread quickly and are the main defense against mold blooms.
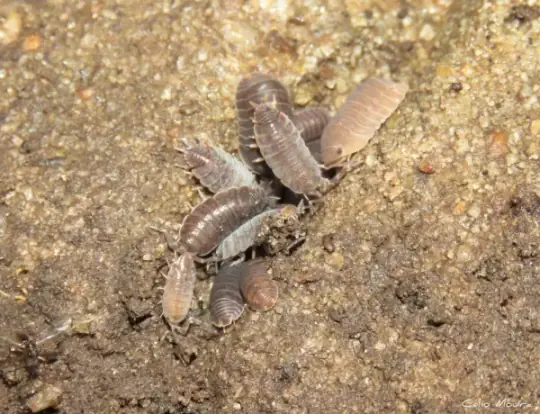
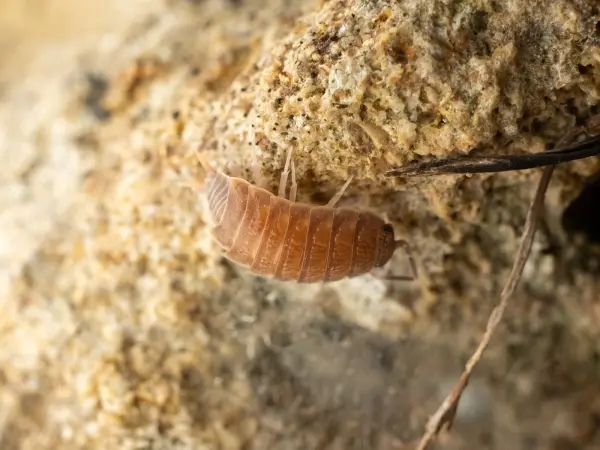
- Isopods: small crustaceans that break down waste, shed skin and leftover food. Choose a species that suits your humidity level and isn't too large or fast to be eaten by your reptile.
Add the cleanup crew 2–4 weeks before your reptile, so their populations can establish. Feed them occasionally with fish flakes or dried leaves while they settle in.
Step 8: Let it cycle
Run the lights and heat on their normal schedule for a few weeks. Expect a little white mold in the first weeks. It's normal and the springtails will deal with it. Check temperatures and humidity at several points and adjust before your reptile moves in.
Maintenance
- Spot-remove large droppings and uneaten feeder insects.
- Mist to keep the target humidity. In tropical builds, let the top layer dry slightly between mistings to prevent stagnation.
- Top up leaf litter every few months as it breaks down.
- Trim plants as they grow, and replace any that fail.
- Never use chemical cleaners inside a bioactive enclosure. Clean the glass with water or a reptile-safe cleaner sprayed onto a cloth, not into the enclosure.
Is bioactive right for you?
Bioactive suits most geckos, snakes and small lizards. It costs more up front and takes longer to set up, but most keepers find it easier to maintain and far more interesting to watch once established. It's less suitable for animals that need strict quarantine, very large or destructive species, and animals with ongoing medical issues where you need to monitor droppings closely.
If you're setting up for a new arrival, combine this guide with our checklist for preparing your home for a new reptile. Our humidity guide also helps you dial in the right levels.
Frequently asked questions
How long does a bioactive enclosure take to establish?
Allow at least 2–4 weeks between adding the cleanup crew and adding your reptile. The springtails and isopods need time to breed, and the plants need time to root.
Do I ever need to change bioactive substrate?
Rarely, if the build is healthy. Top up leaf litter and add fresh substrate occasionally as it compacts. You may need to strip and rebuild if the drainage floods, the substrate turns sour or pests take over.
Will my reptile eat the isopods?
Some will, especially insect-eating geckos and lizards. That's fine in moderation. Choose an isopod species that breeds well and provide cover, such as leaf litter and cork bark, so the colony keeps up.
Is mold dangerous in a bioactive terrarium?
A little white mold in the first few weeks is normal and usually disappears as springtails multiply. Persistent mold often means too much water or not enough ventilation, so increase airflow and reduce misting.
About the author: ScaleHaven Care Team
Reptile keepers and breeders at ScaleHaven Reptiles
Our care team raises and looks after every animal we sell, from hatchling to shipping day. We write these guides from the husbandry we use in our own facility, and we review them as best practice evolves. For health concerns, always consult a qualified reptile veterinarian.